


III. Lab Project.
PNEUMATIC CATAPULT
Project Goal
You will build a pneumatic catapult and a set of rockets with various fin designs. The goal of the project is to measure how far a rocket of a particular design can fly and to investigate how the fin design can affect the flying distance.
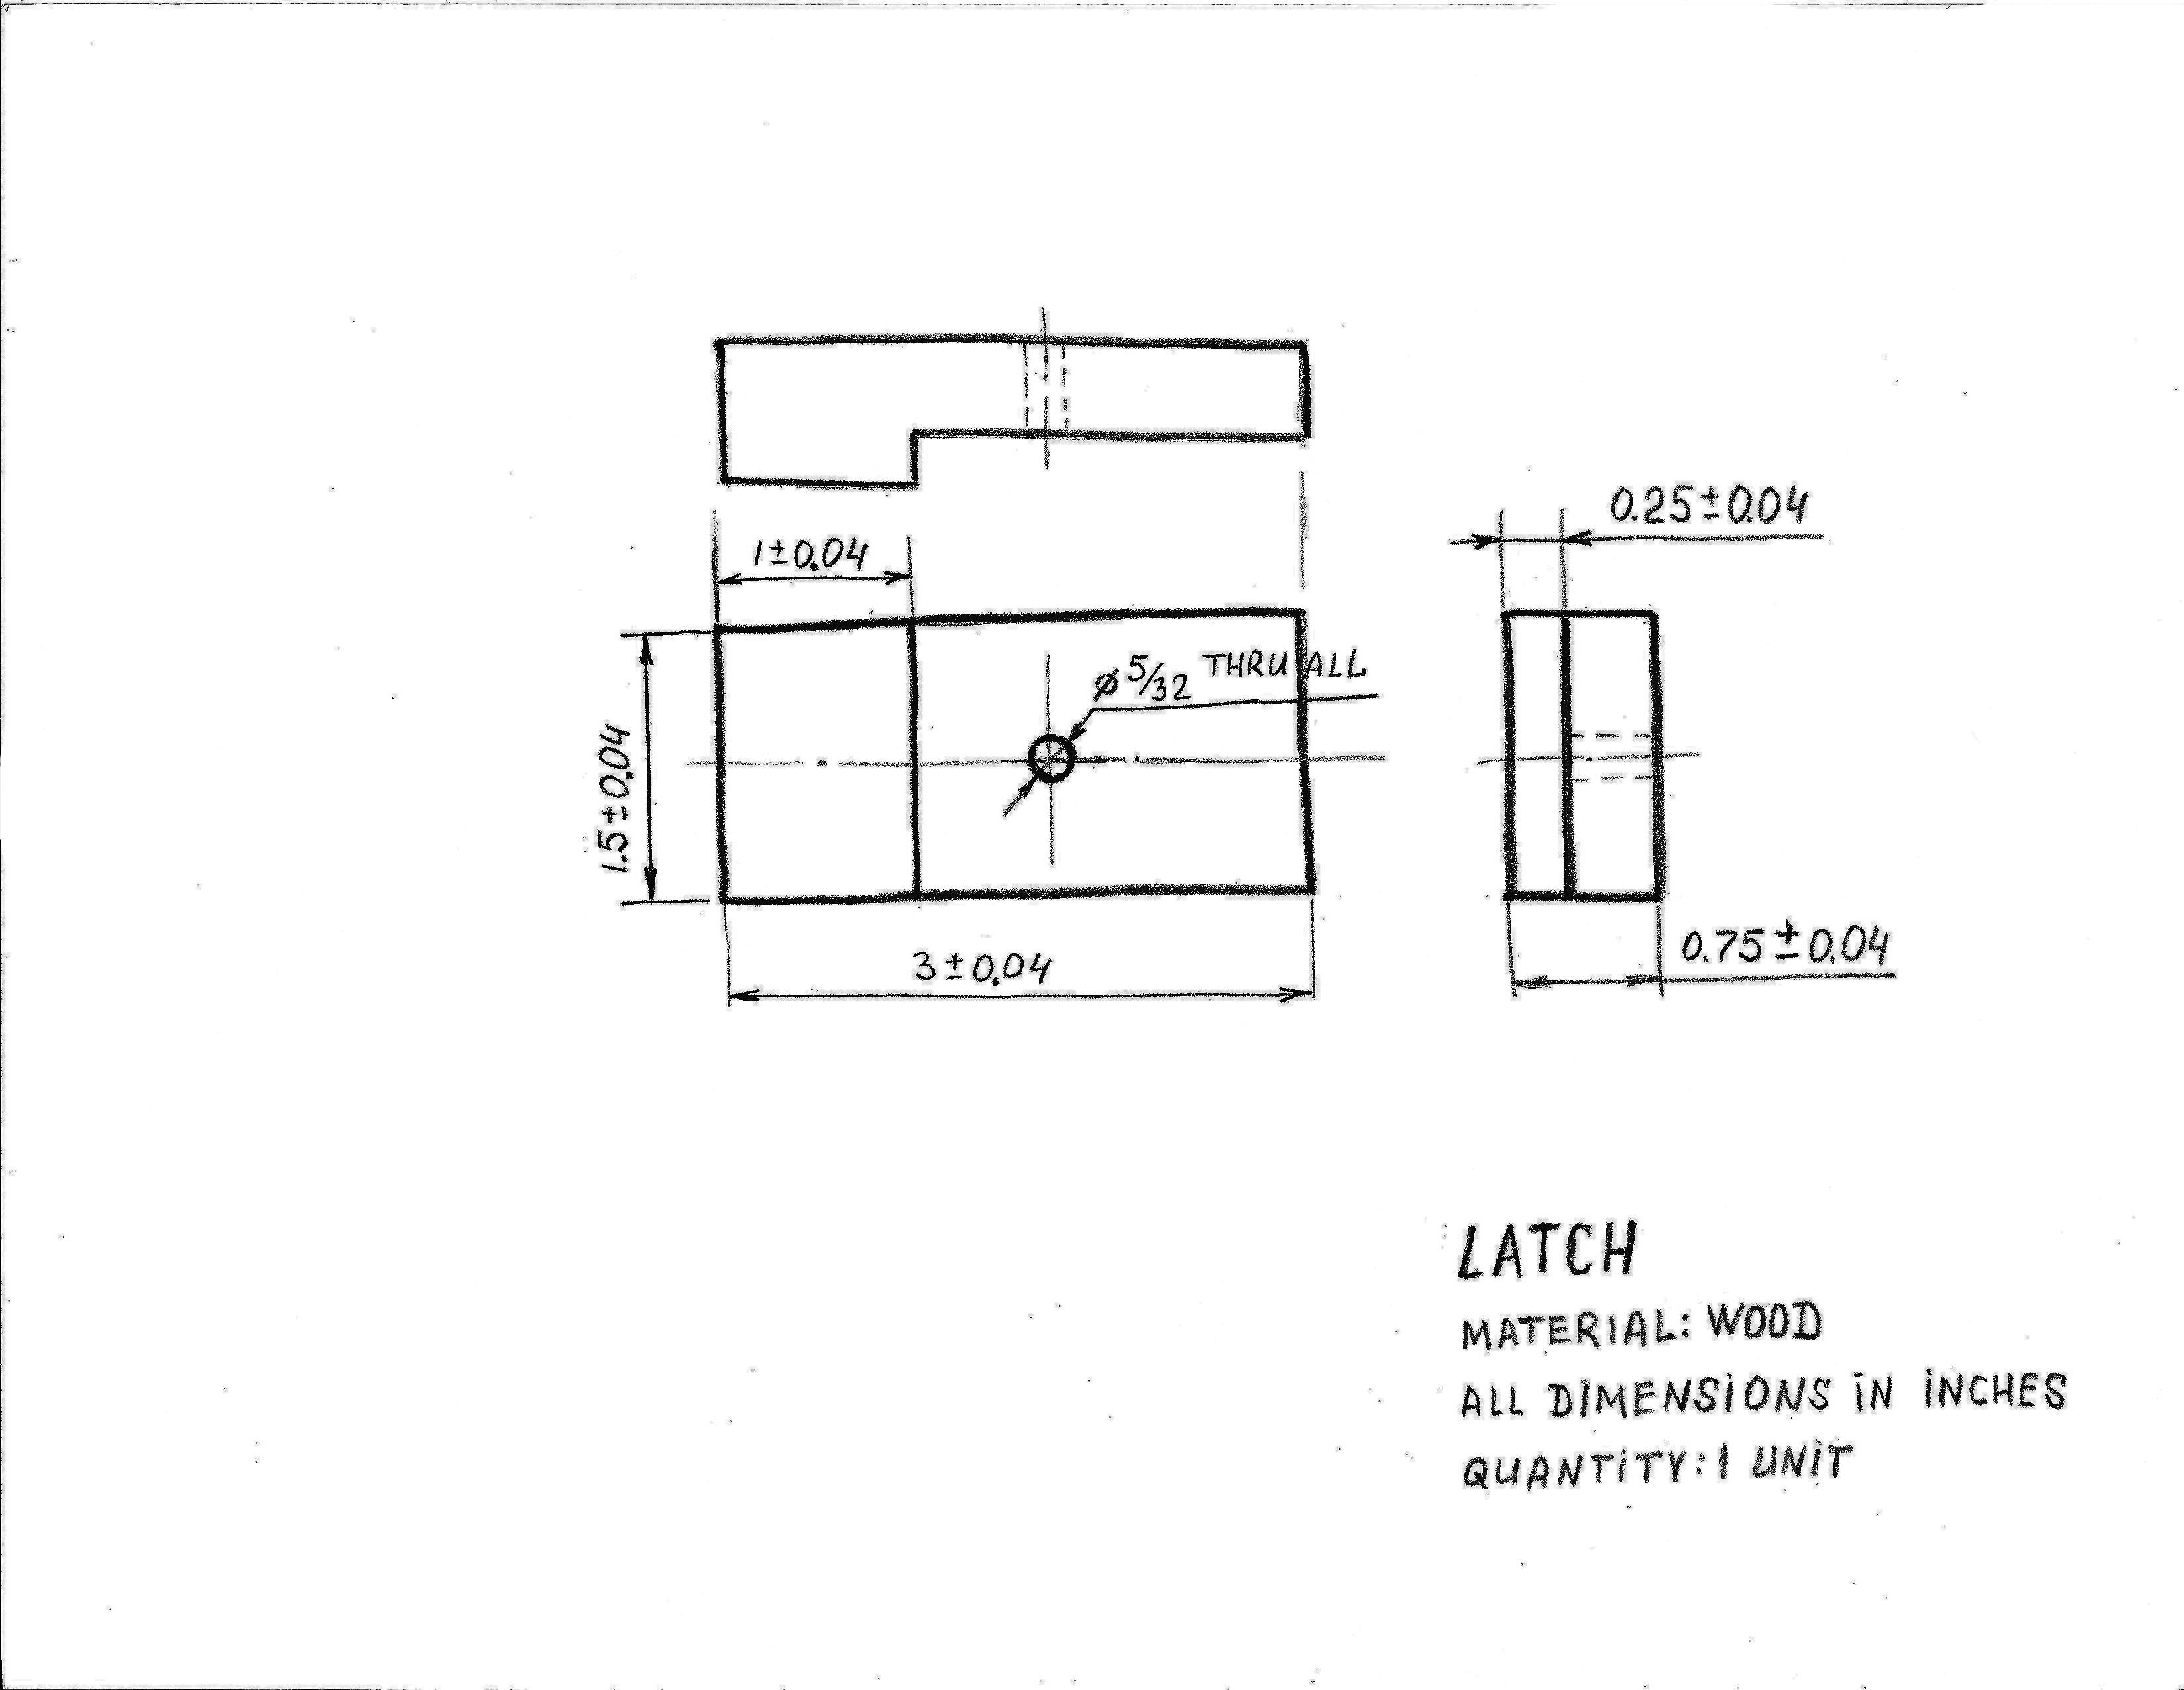
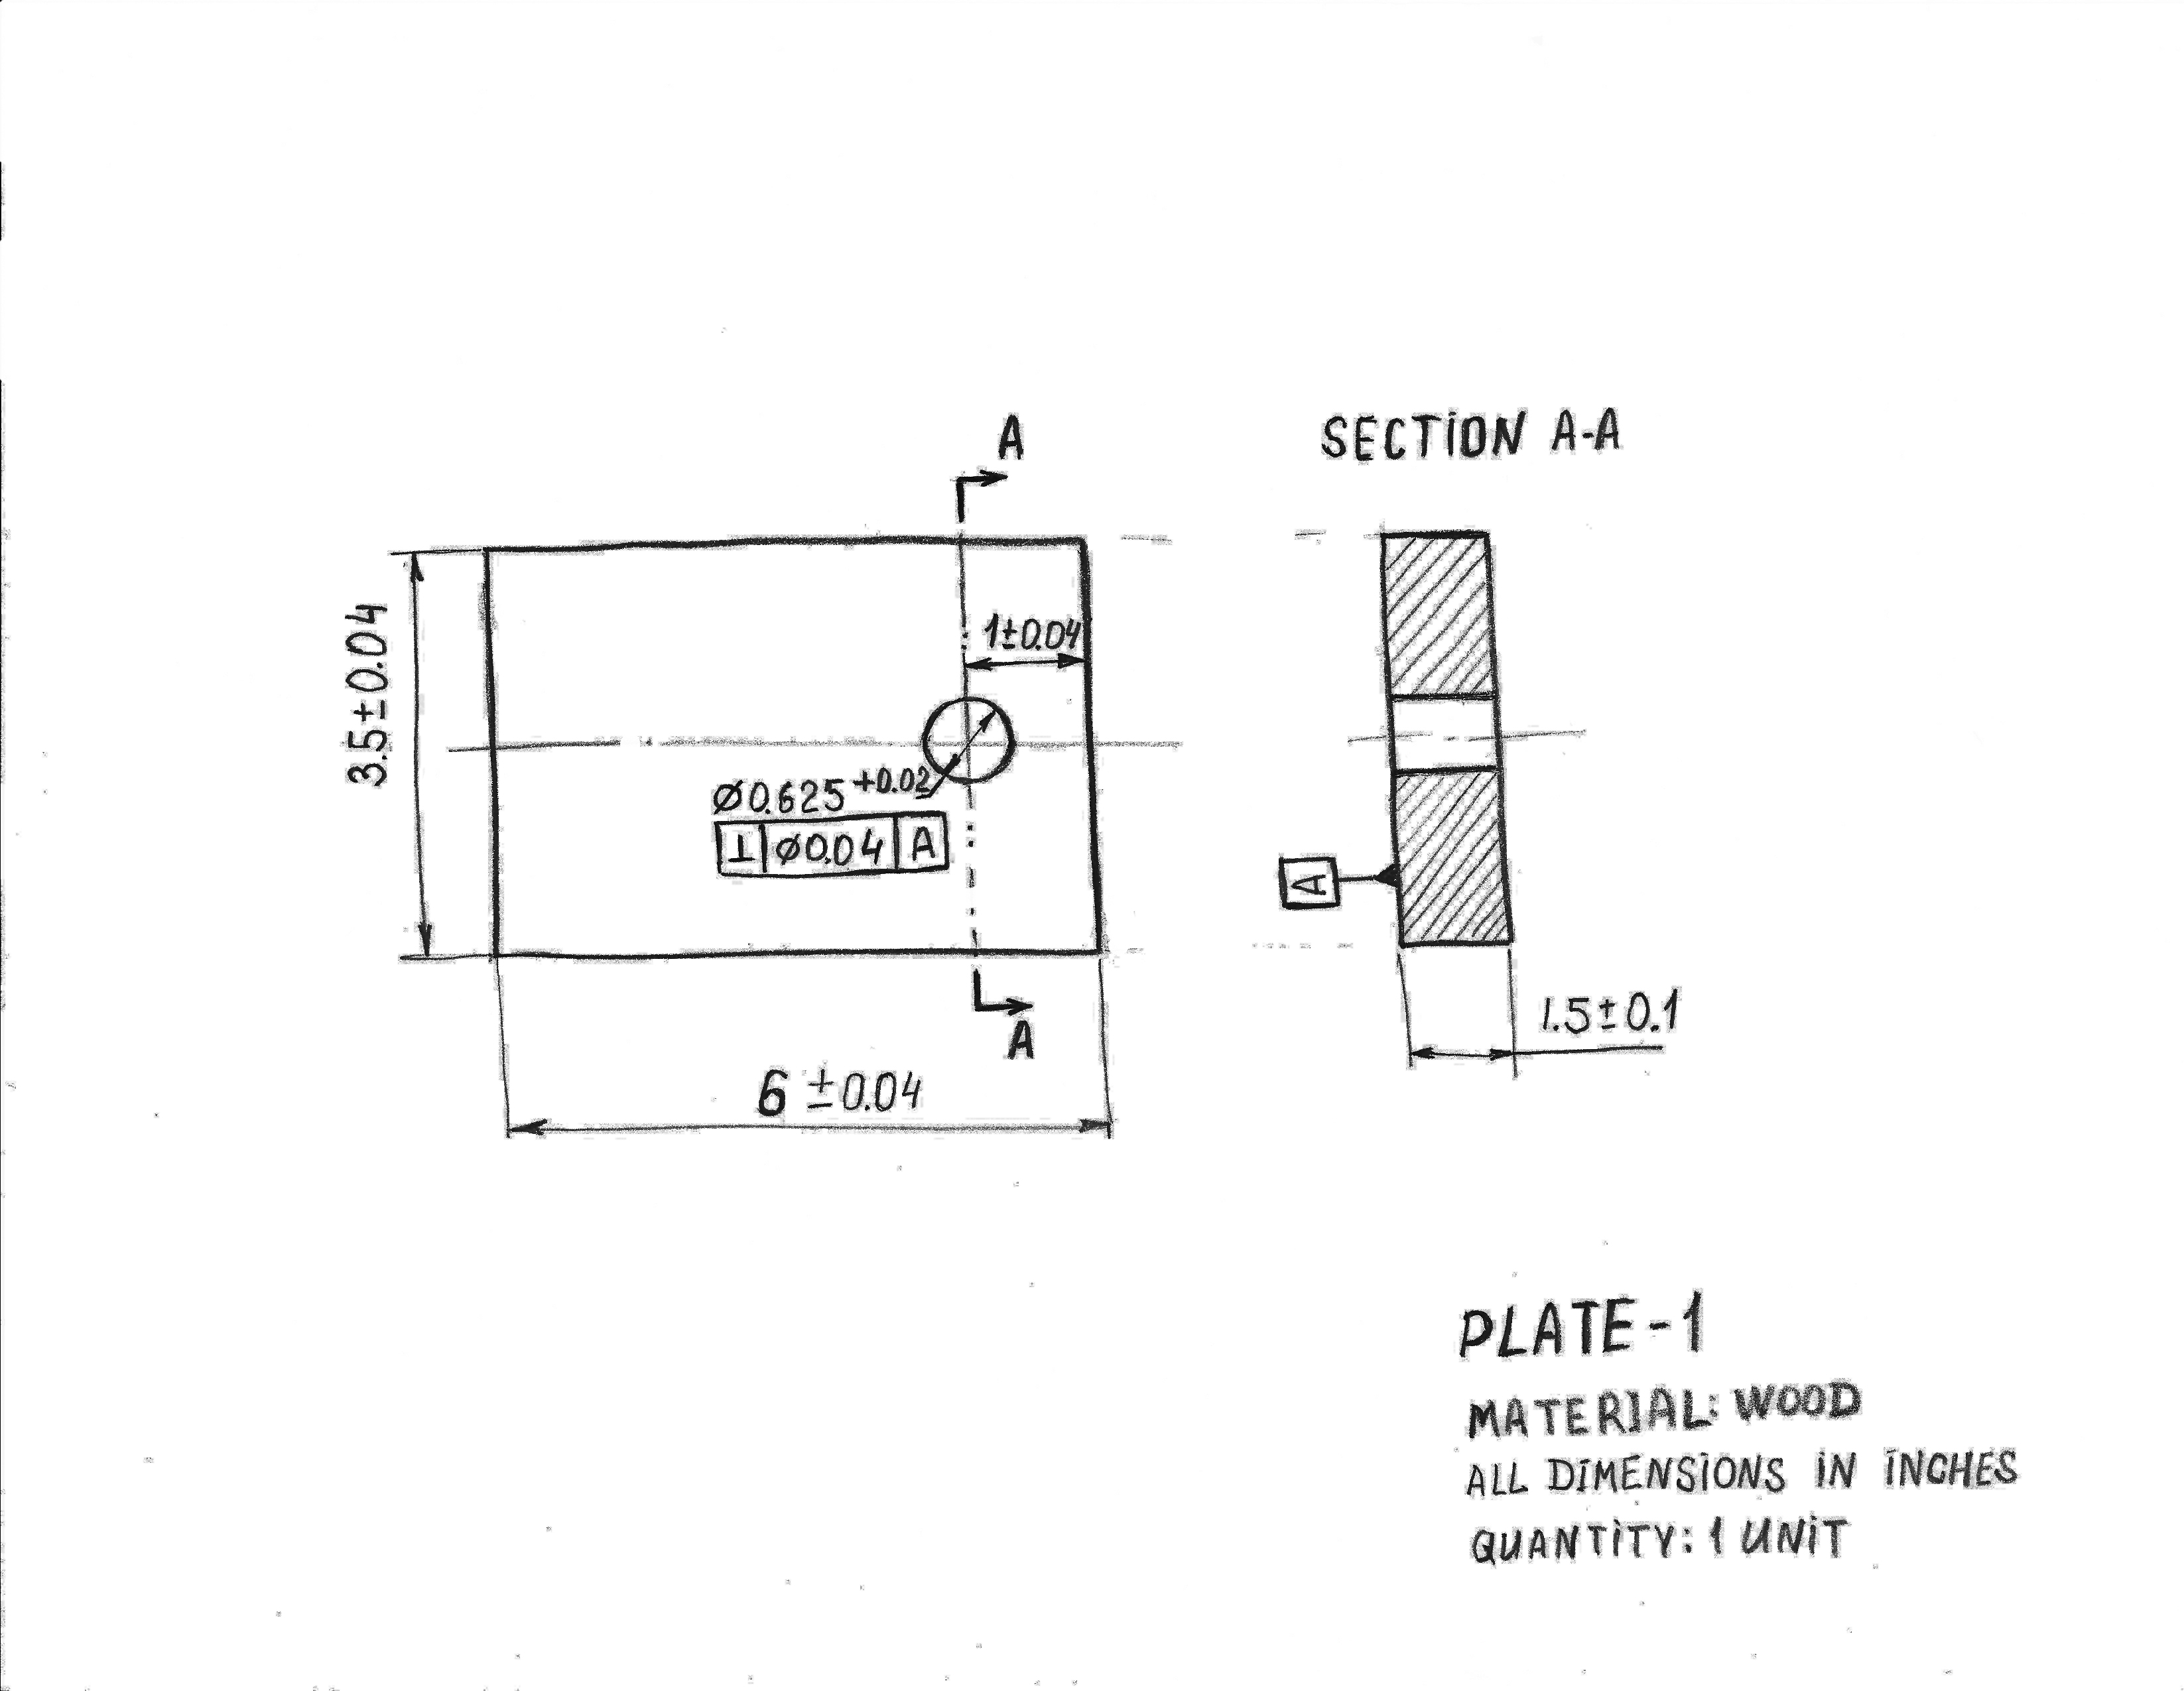
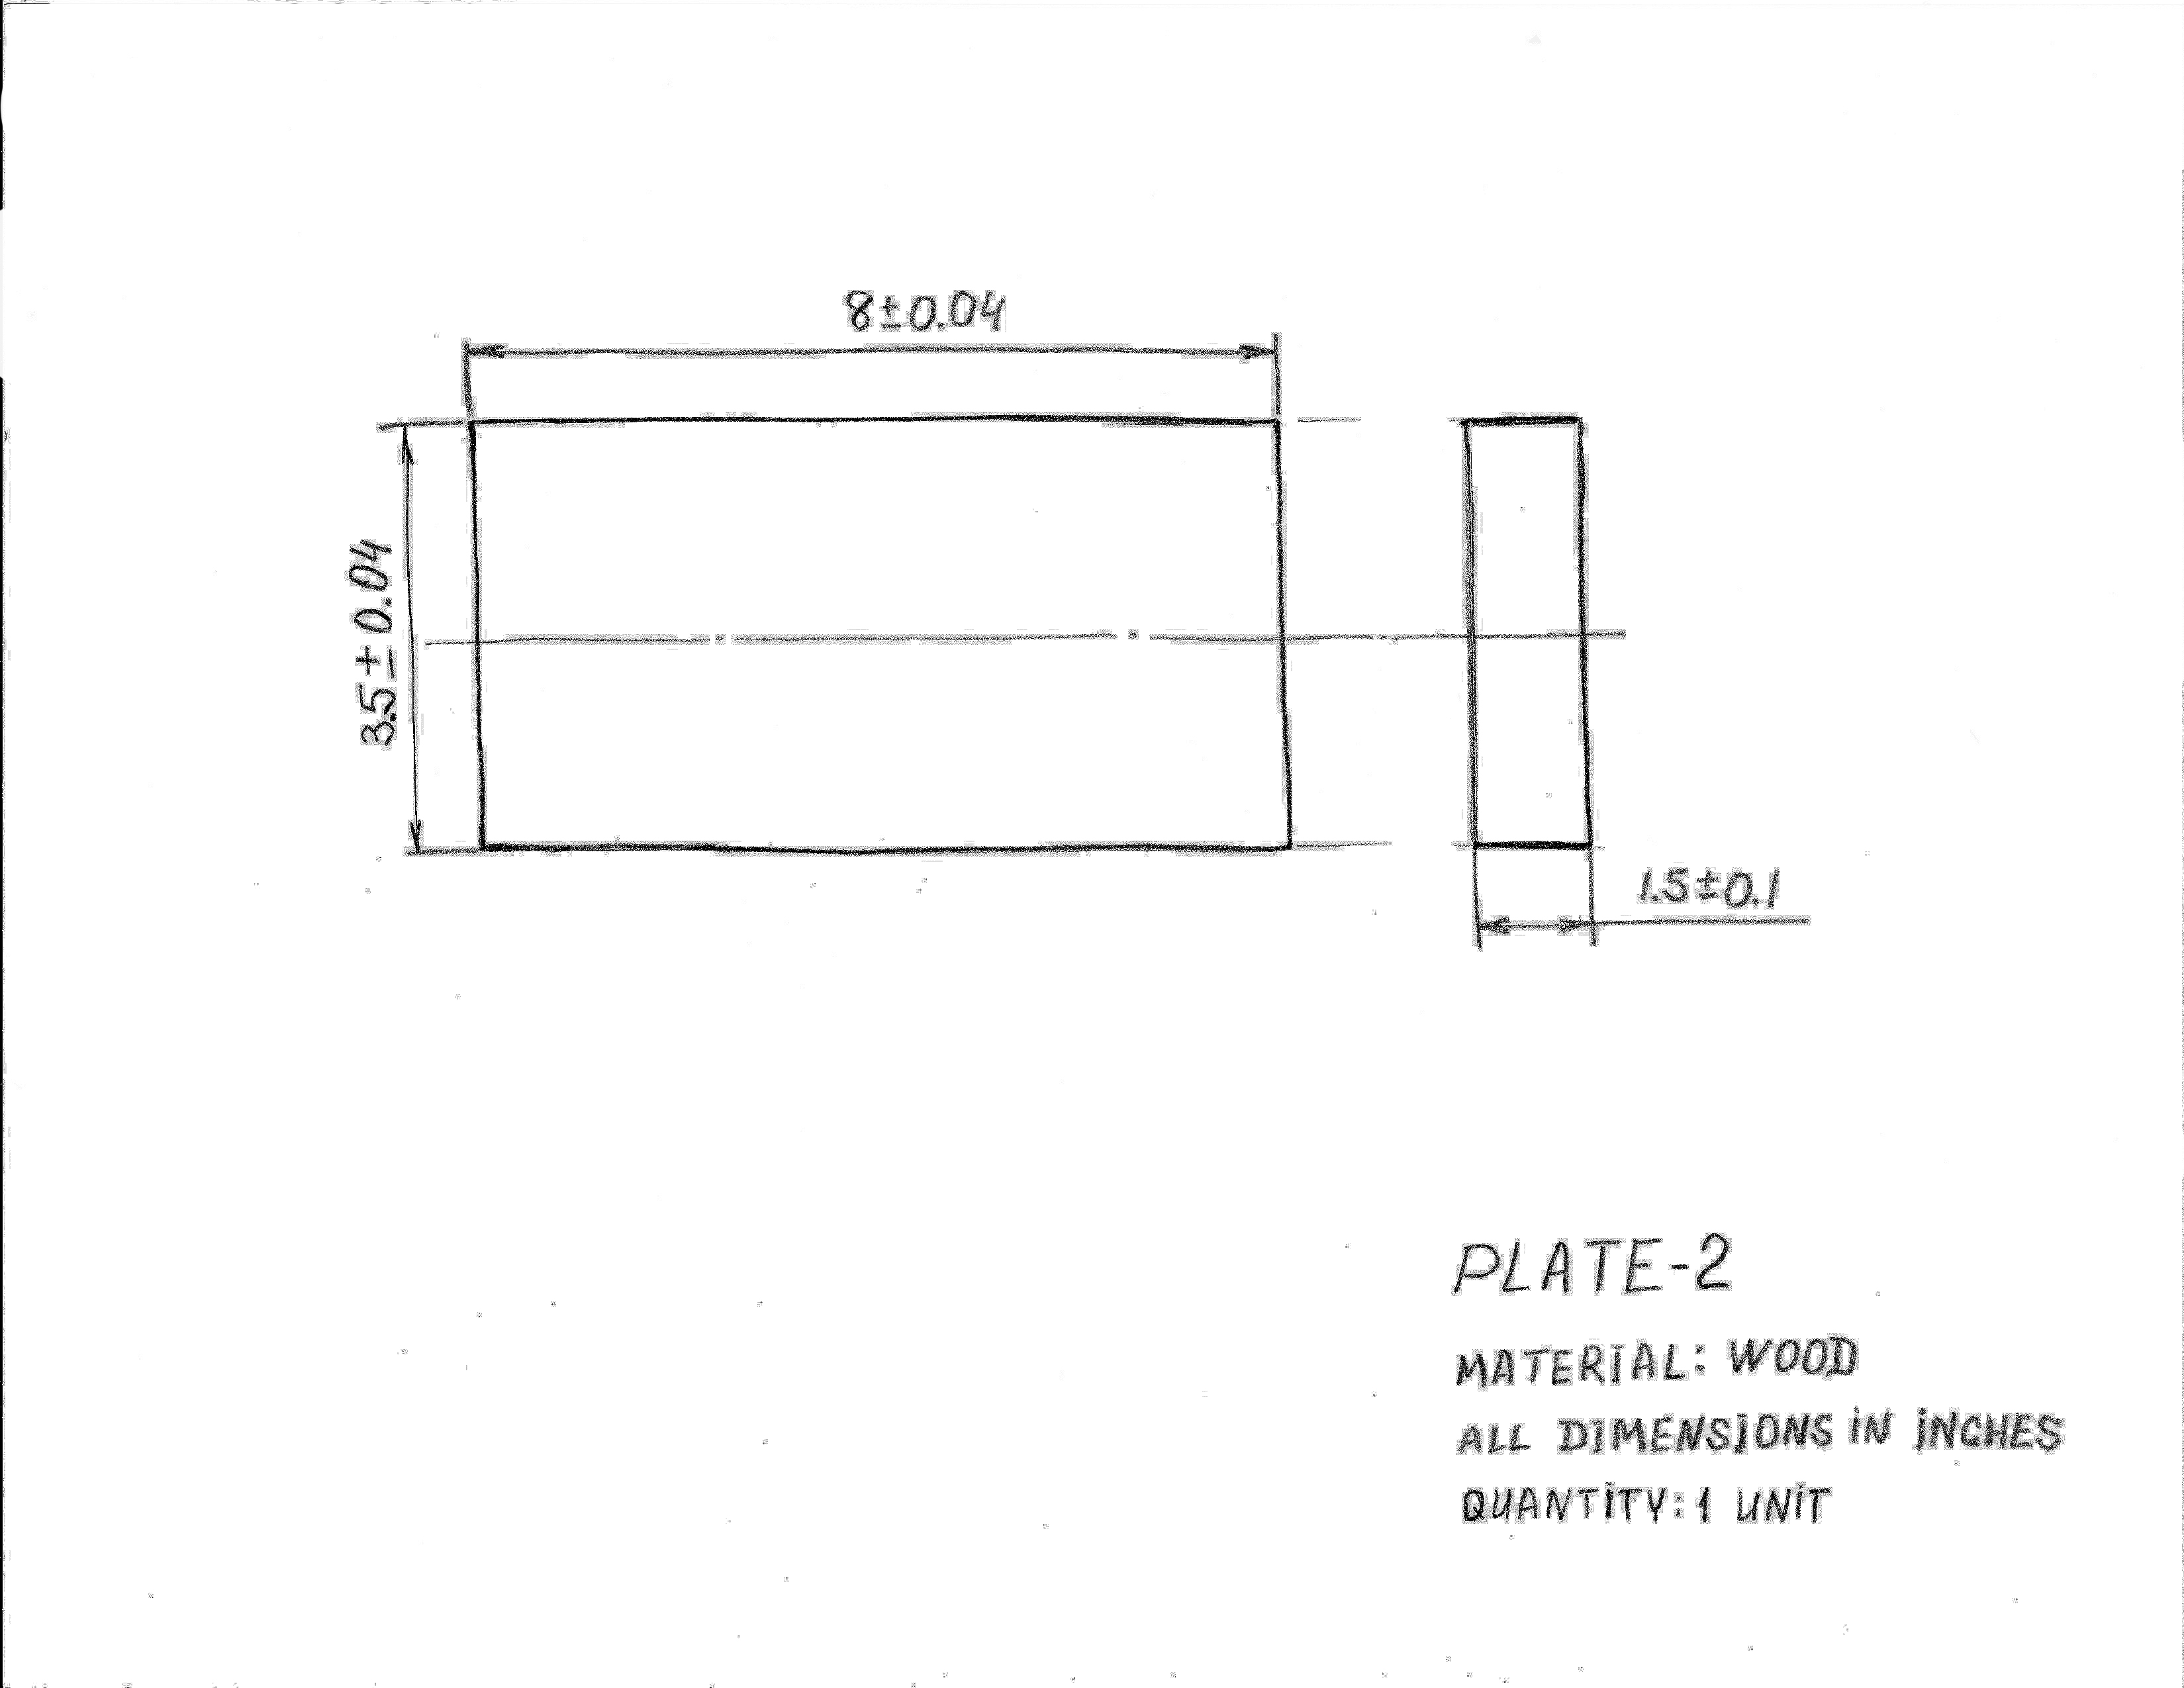
Technical Sketches
The following four Figures show technical sketches of parts you need to build a catapult (file with drawings is attached to the homework).

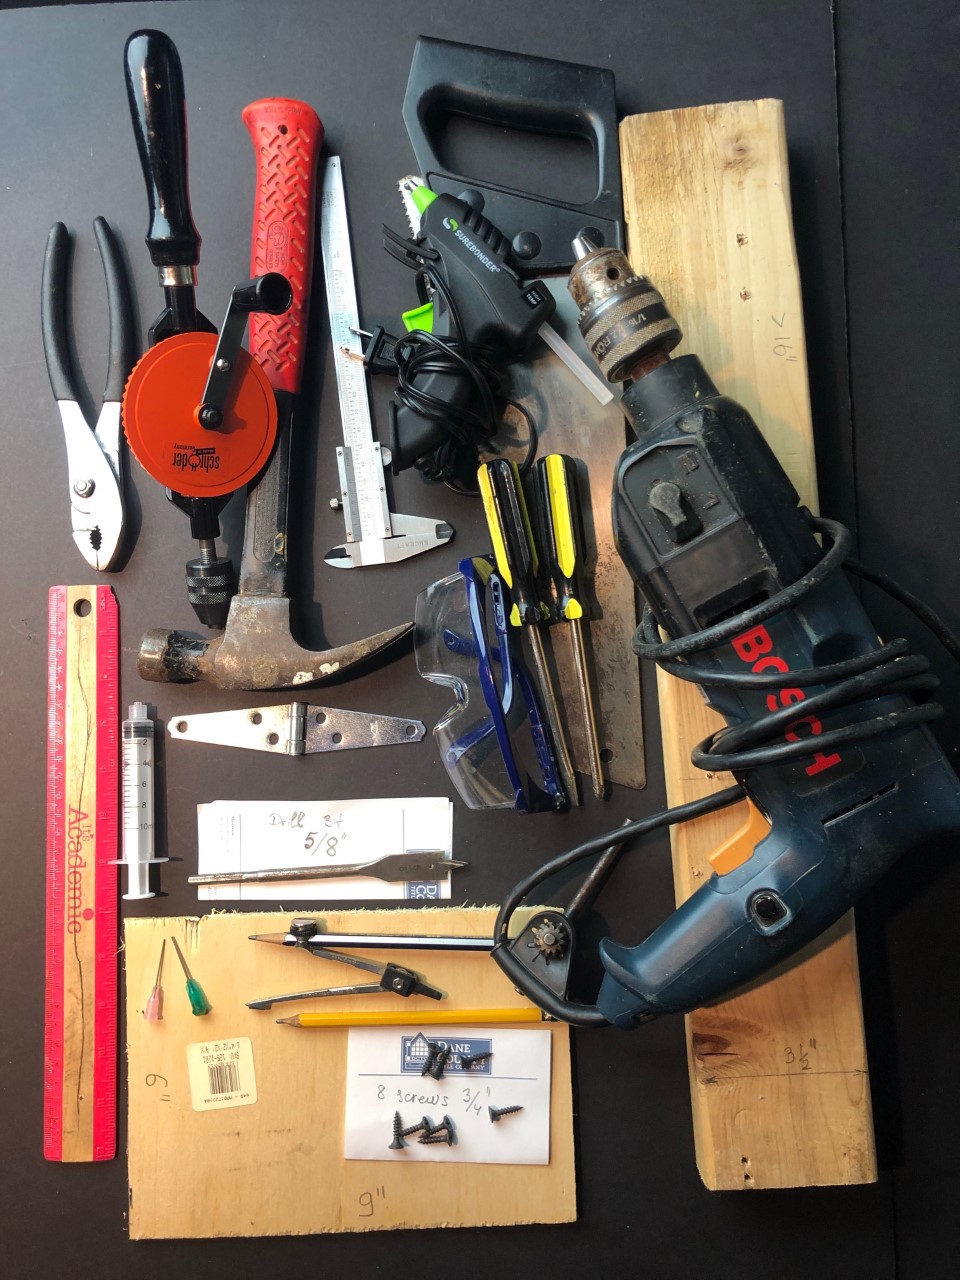
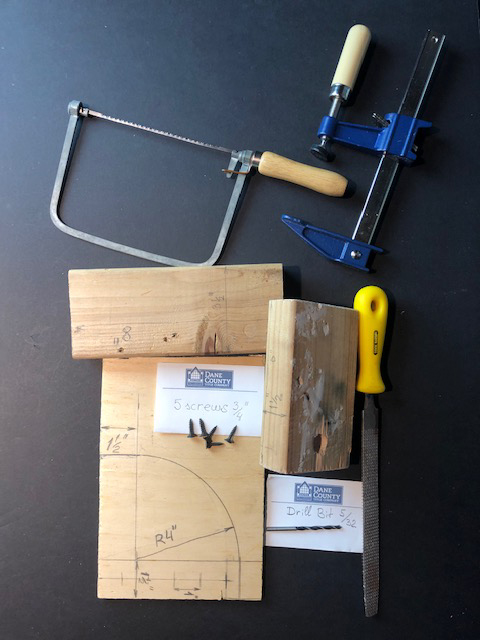
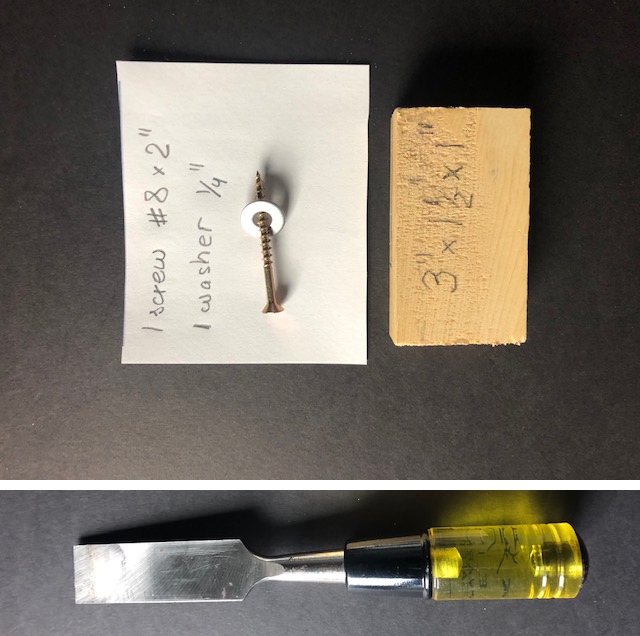
Tools and Materials
To build a pneumatic catapult, you will need tools and materials shown in the next four pictures.
Of course, you don't need exactly the same tools and you can use similar tools. For example, we used an electric drill with a cord, but a cordless version will work just as well, or it could be a hand drill. But you need wooden parts with dimensions as close as possible to those indicated in the photographs.
Making catapult parts.
Now, you should make the catapult parts with your materials.
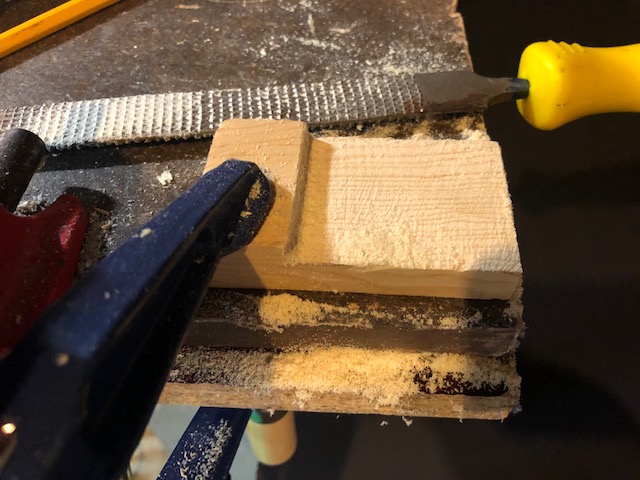
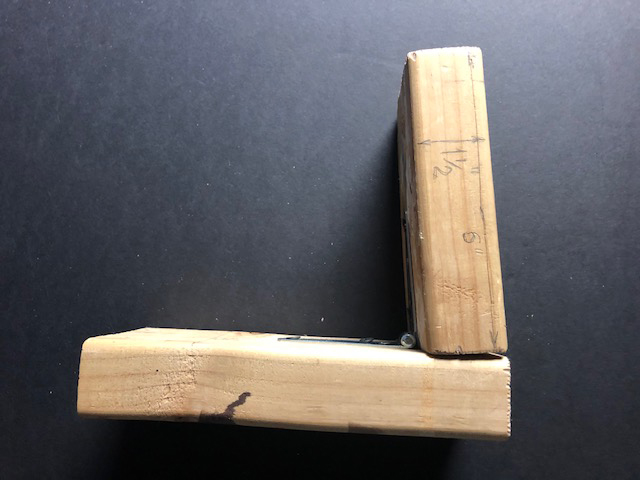
This is a wooden piece for the latch. The area, which will be removed, is marked with a black pencil.
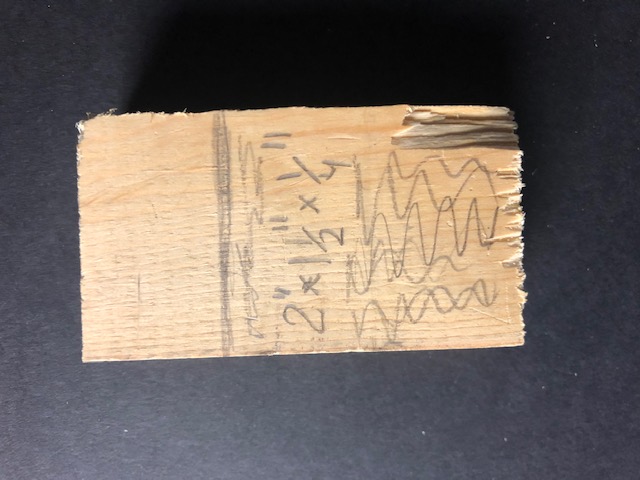
The next three images show how to remove this marked part to make a latch according to the drawing.
Step 1. Fix the wooden part with a clamp and make shallow cuts with saw.

Step 2. Remove wood with chisel and hammer.
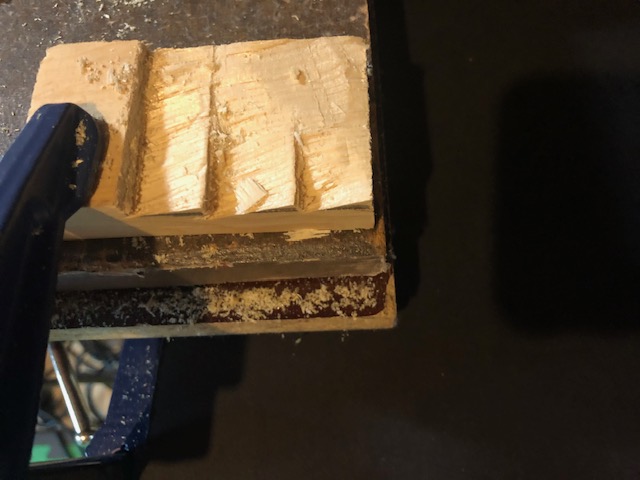
Step 3. Smooth the remaining surface with file and drill the required hole.
Now use a jigsaw and make a protractor from the plywood. Then use a hand saw to cut a plate#1 and a plate#2.
Use a drill with the appropriate drill size and drill holes in the protractor and plate#1. Use a small door hinge and screw it to the plate#1. Be careful: a properly connected door hinge must be able to close the two plates together.
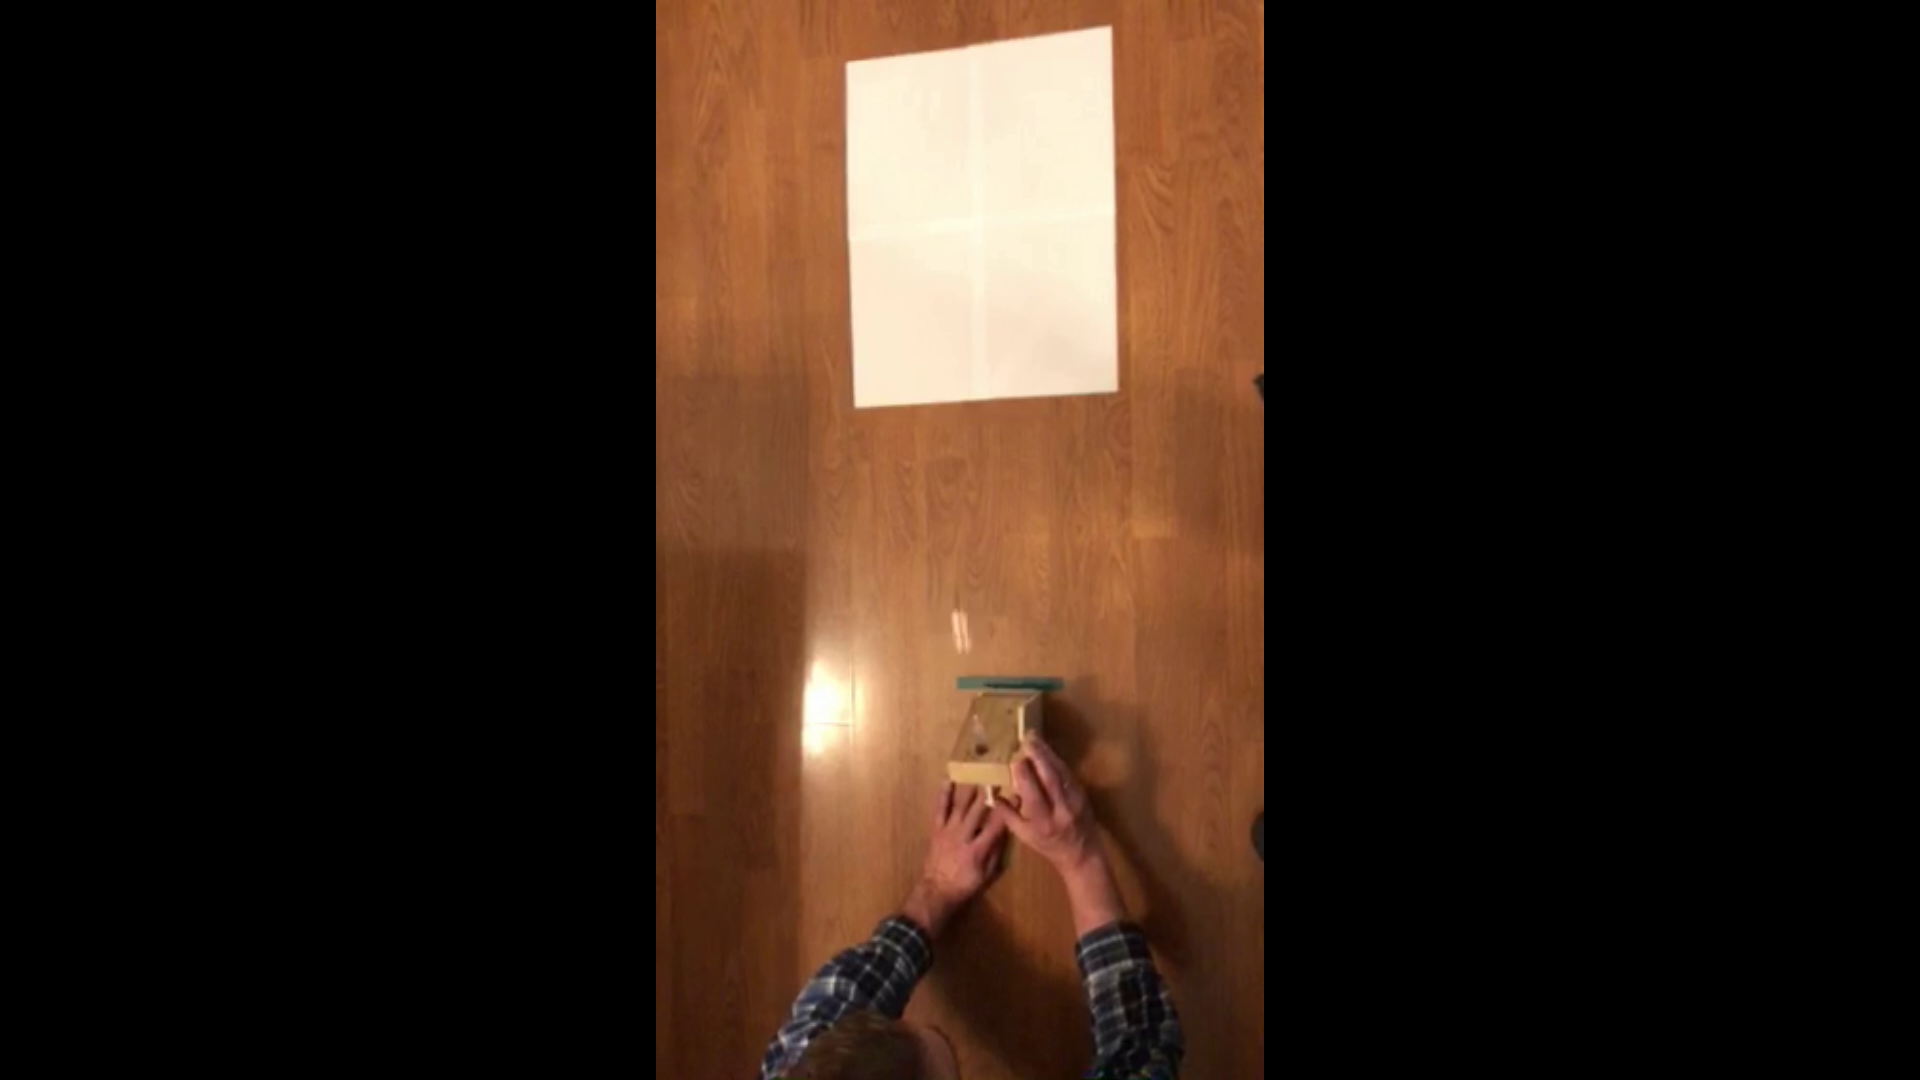
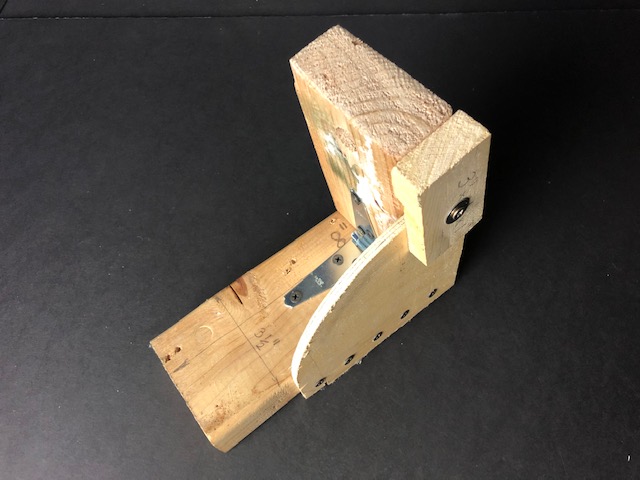
Catapult Assembly
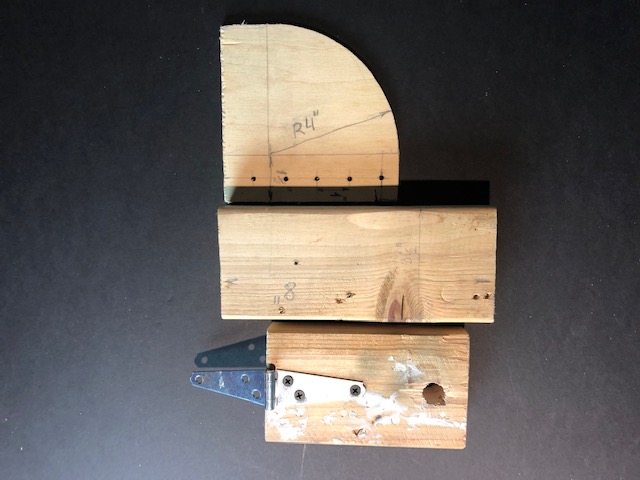
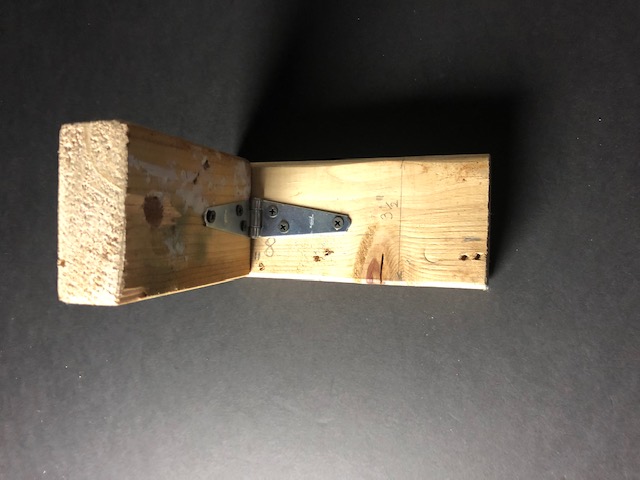
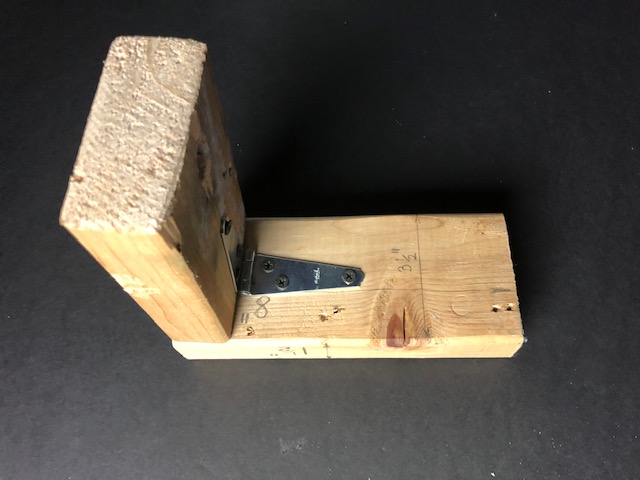
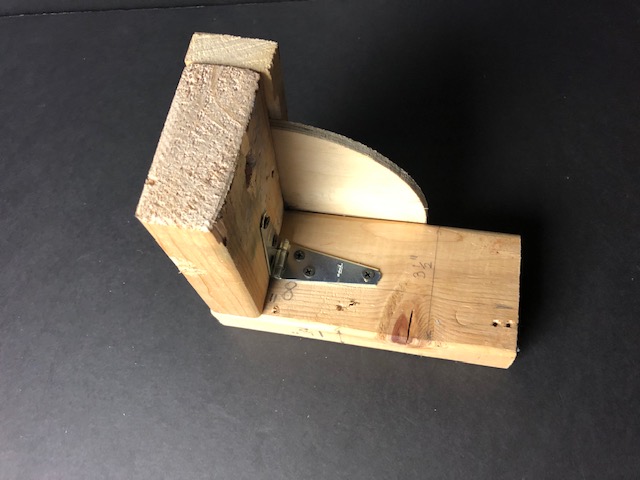
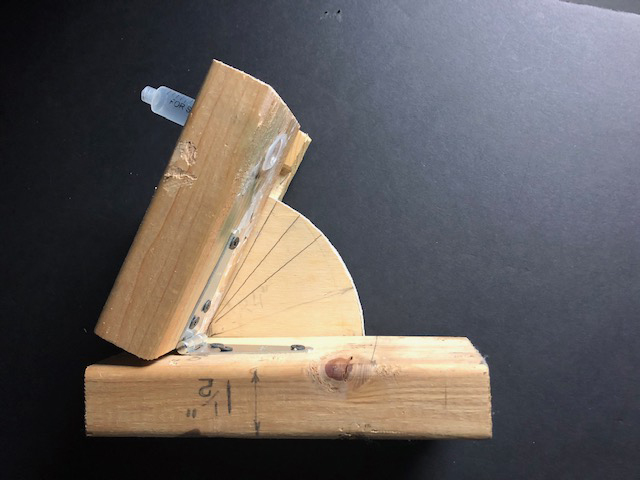
Now, you should align the plate#1 with door hinge as it shown in the next three images and screw the door hinge to the plate#2.
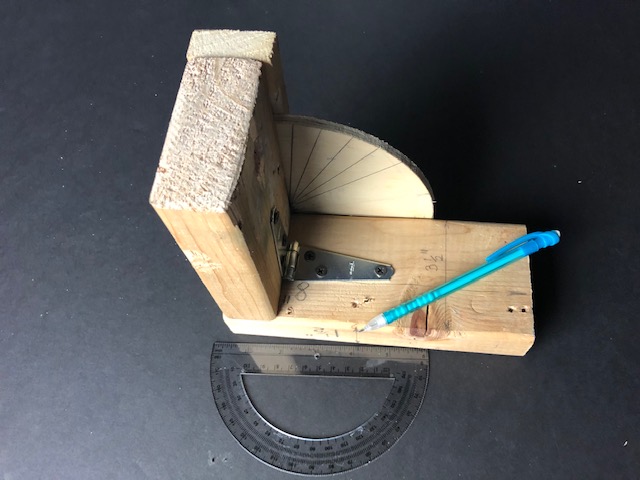
Now it is a time to connect the protractor to the plate#2. Use 5 screws with length of 3/4" and firmly screw the wooden protractor to the plate#2 as it shown in the next two pictures. Put the latch in an appropriate position and screw it to the plate #1. After all, the latch should be movable, but it should be able to fix the plate#1 in the desired position vs plate#2 and protractor (be careful, do not screw the latch to the protractor!!).
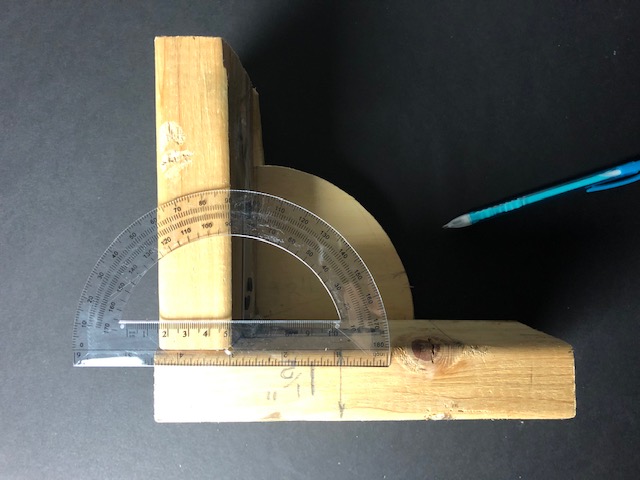
On the assembled unit, using a stock protractor, mark the positions of plate#1 each 10 degrees on assembled protractor as it shown in the following two images.
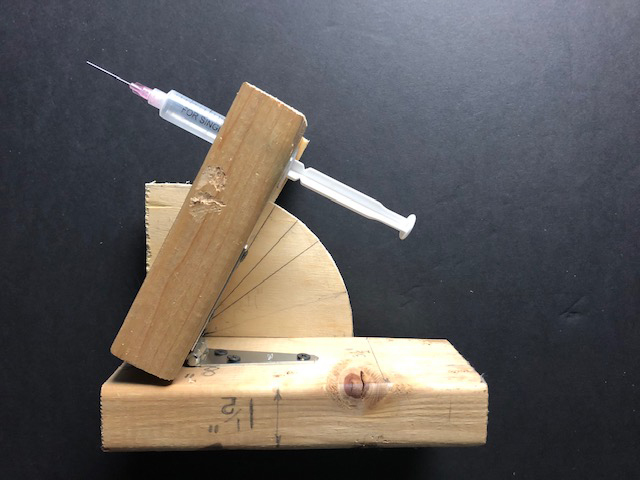
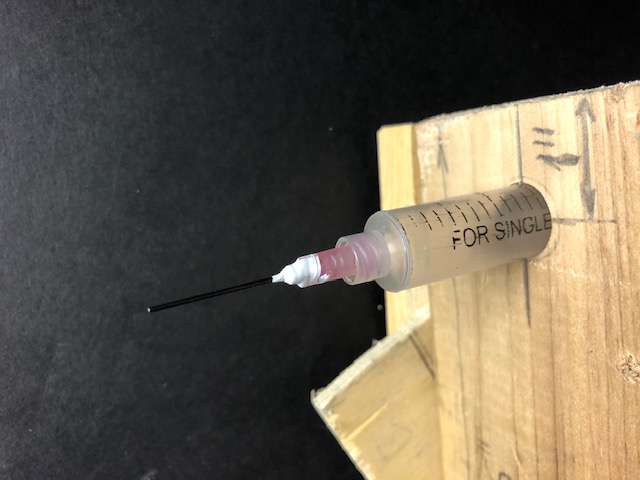
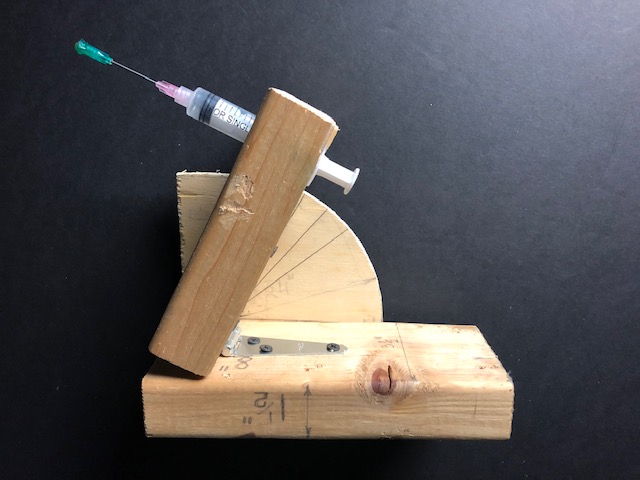
Insert the syringe into the hole of the plate#1 and screw in the blunt pink needle (gauge#18).
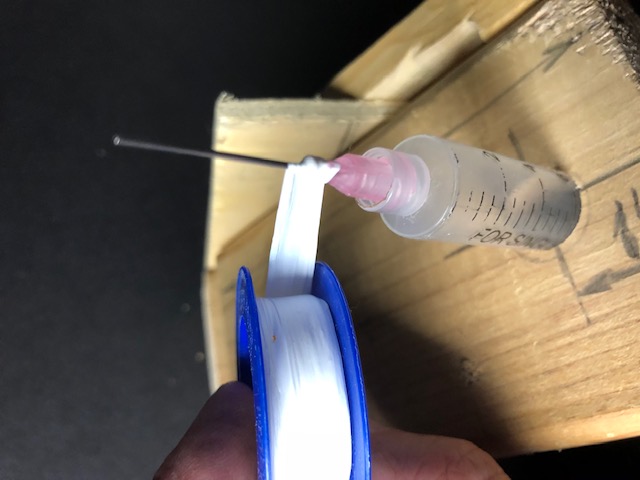
Tape the needle with Teflon tape as it shown in the following two photographs.
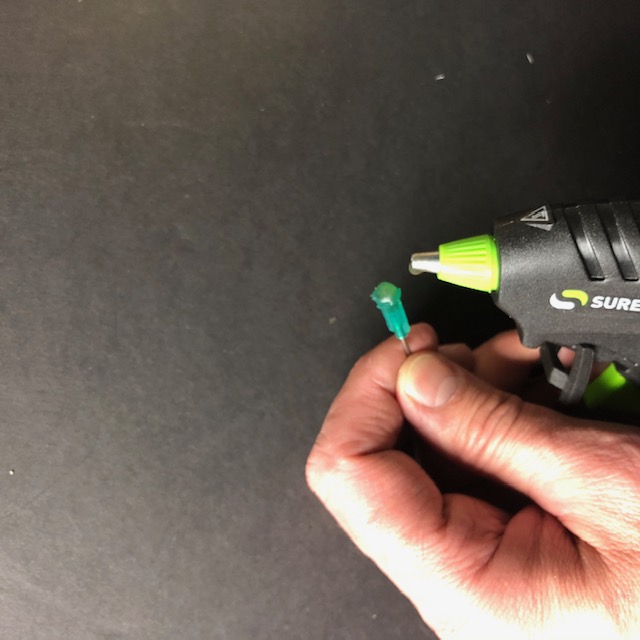
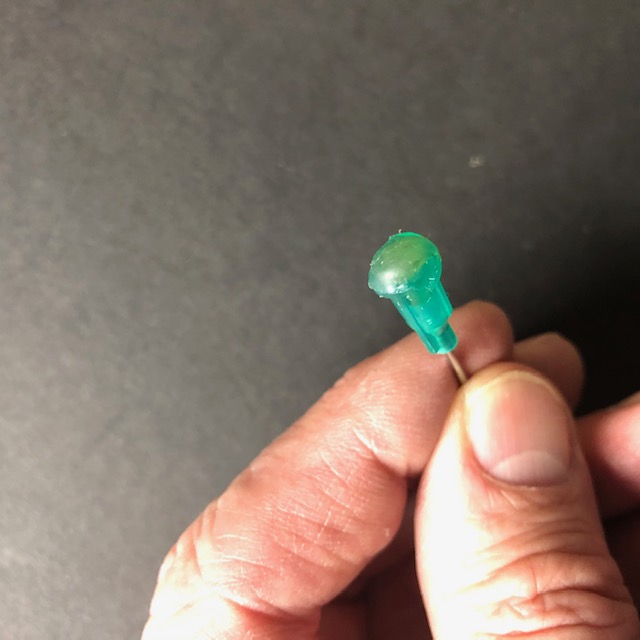
Use a green needle, hot glue gun and glue the hole of the needle. The green needle should be fitted over the pink needle. This will be your rocket.
Use hot glue gun or superglue, Loctite or any other cyanoacrylate glue to bond the foam tip to the rocket. Dip the foam into the acrylic paint. It will allow you to see a point where the rocket hits the surface, and then you can measure the distance flown by the rocket. Use the hot glue gun and glue the aluminum foil fins.
You can make aluminum fins of different shapes. We will use flat fins, corkscrew fins, large and small size fins in our experiments.
Please remember: you should zip the pdf file and then upload it, if you want to upload the pdf file in your homework reply.
")
")